Expert Tips on How to Replace The Fan Motor In Your HVAC Condenser
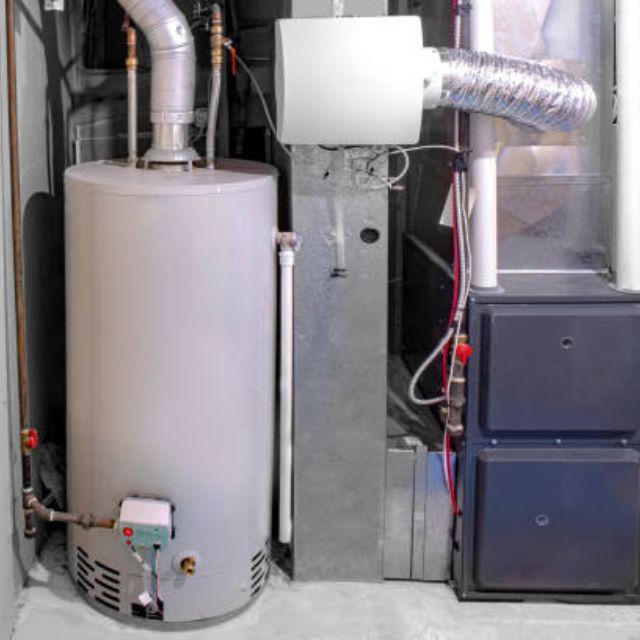
HVAC maintenance can seem intimidating, especially involving something as critical as the condenser fan motor. The condenser fan motor is crucial for properly functioning your HVAC system, ensuring efficient heat dissipation and contributing to the system's overall performance and longevity. When it fails, the repercussions can be uncomfortable and frustrating. Although the replacement process may require some basic mechanical knowledge, with the right guidance and safety measures, it's a task that many homeowners can undertake on their own.
1. Safety First
Safety should always be your number one priority when dealing with electrical appliances. Before starting the replacement process, ensure the power to the HVAC system is completely turned off at the breaker. Never try to repair your HVAC unit while it is still connected to power, as it can result in electric shock or more severe hazards. Also, consider using safety gloves and goggles for extra protection.
2. Get the Necessary Tools
Having the correct tools at hand can make the replacement process significantly easier. You will likely need a multimeter to check for any residual electricity, a set of screwdrivers, a socket set, pliers, wire strippers, and electrical tape. Make sure to have a new fan motor that matches the specifications of the old one. Usually, you can find this information on the old motor's nameplate. If not, consult your HVAC system’s manual or a trusted HVAC professional.
3. Take Photos and Notes
Before you start dismantling anything, it's smart to take detailed photos of the original setup and jot down notes of each step you plan to take. These photos and notes will guide you when you assemble the new fan motor and ensure that every wire and component returns to its rightful place. It's easy to get lost, especially if you're new to HVAC maintenance. Having a record of what everything looked like before you started will prove invaluable when it's time to put it all back together.
4. Locate Your Fan Motor
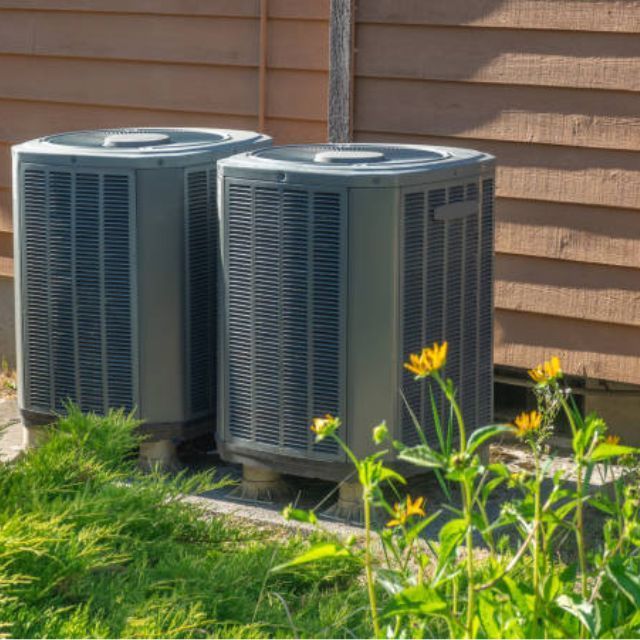
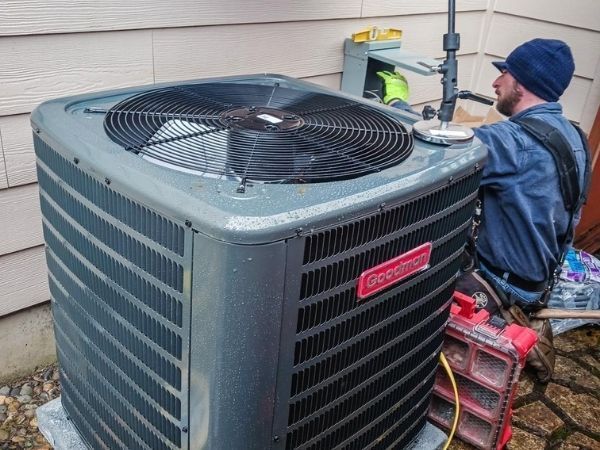
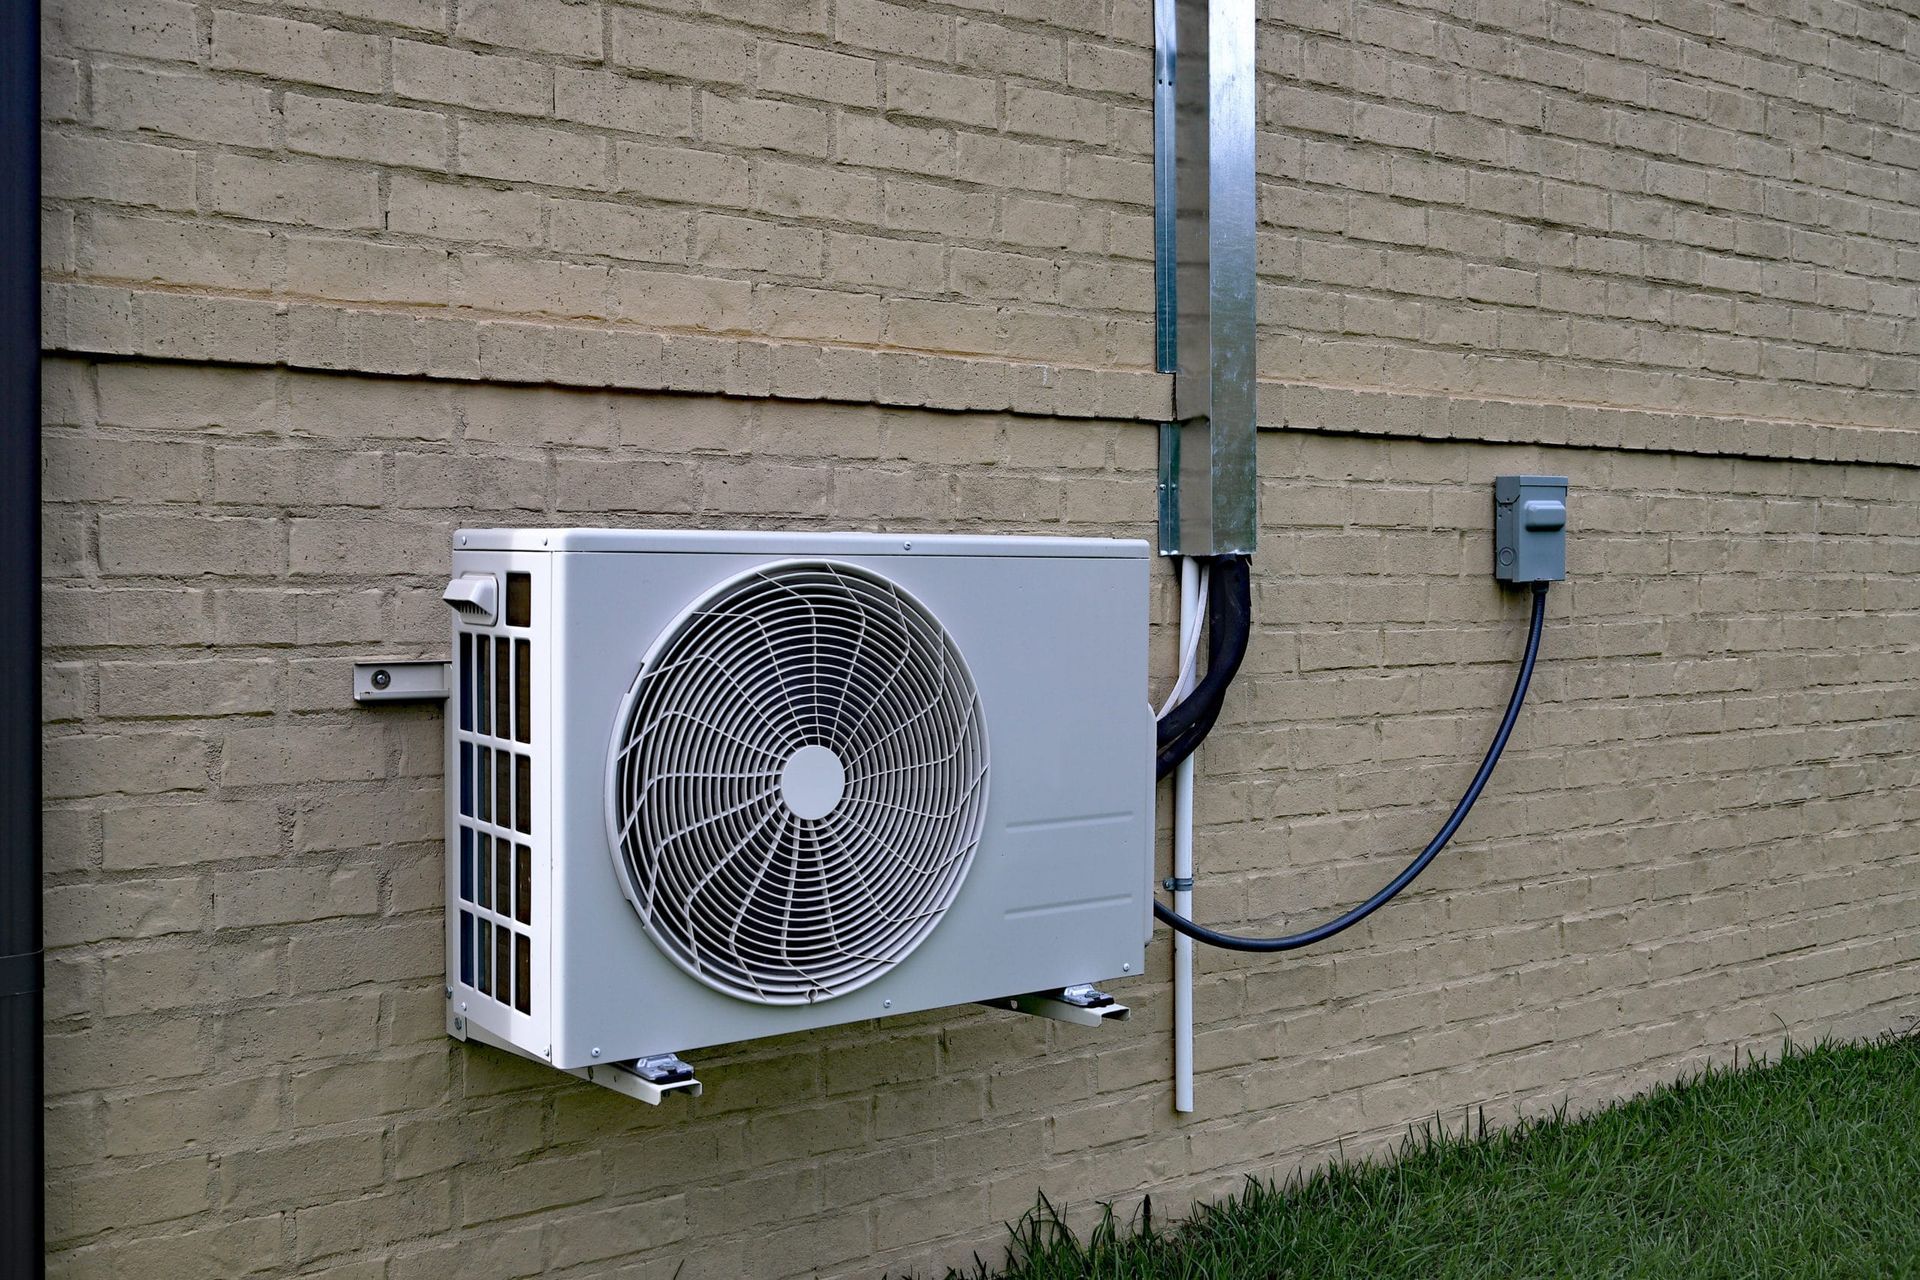
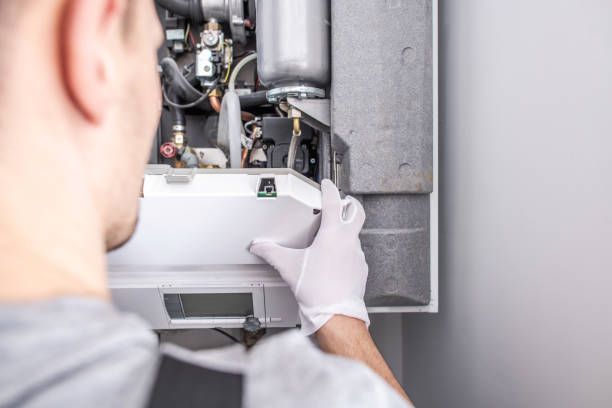
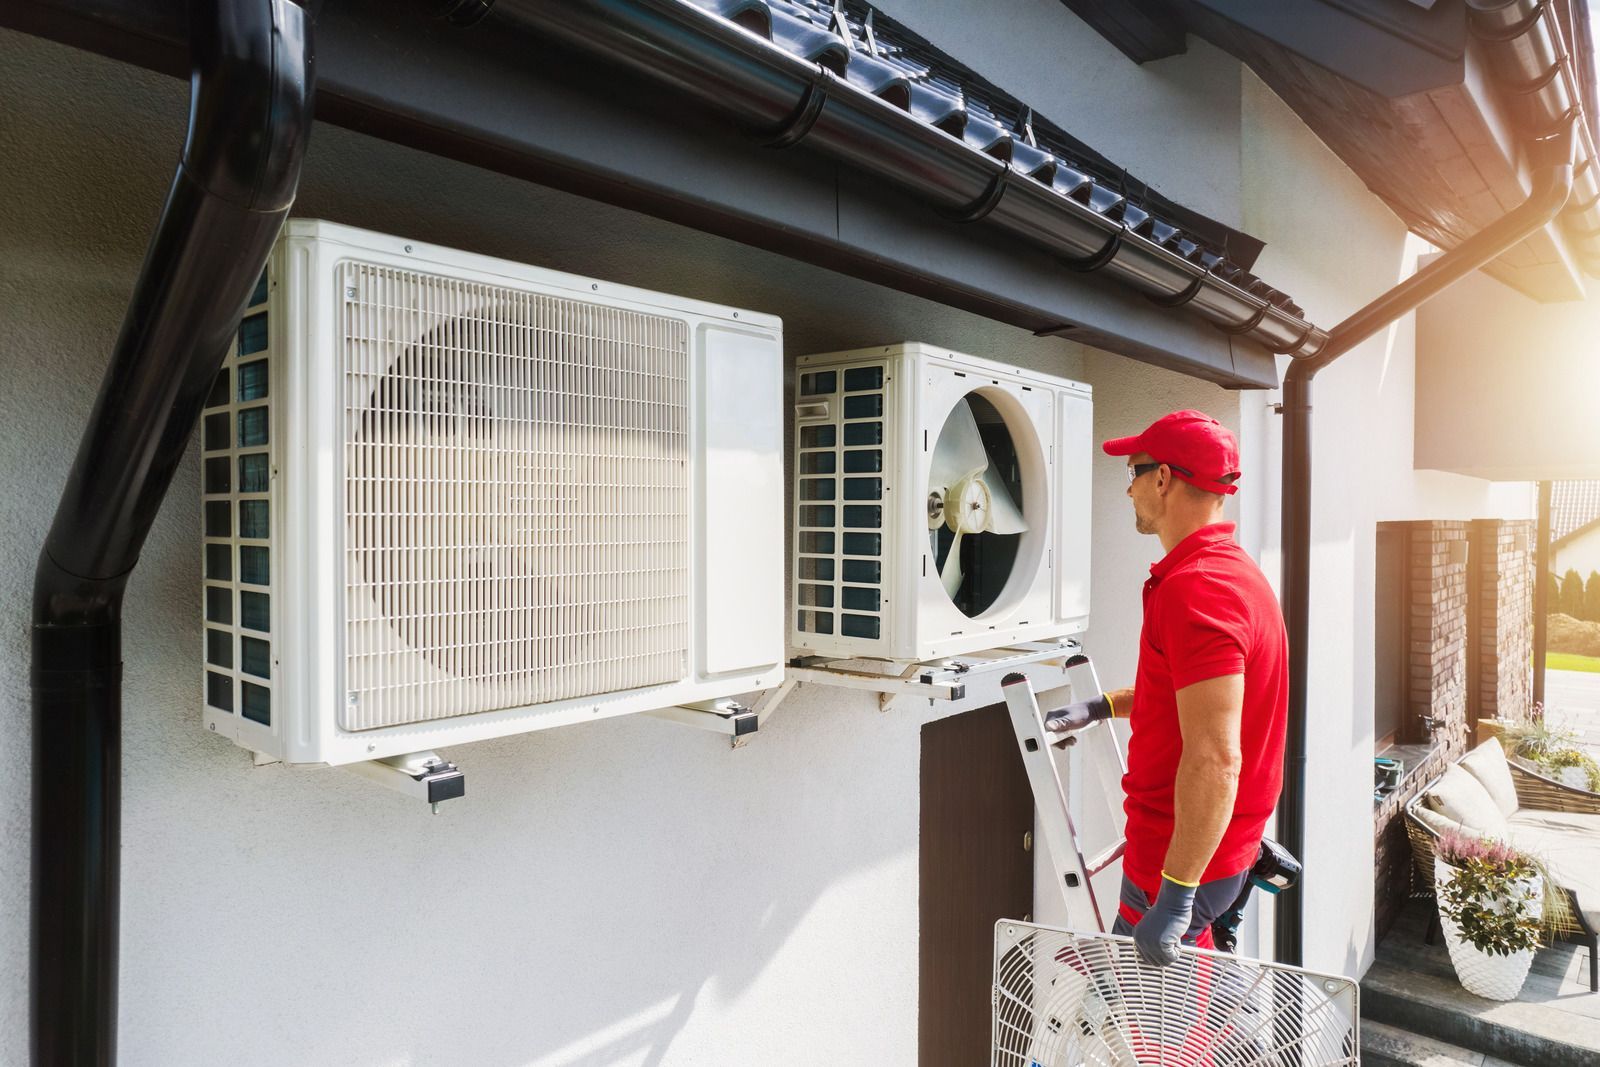
First things first, you'll need to locate the fan motor. It's typically situated in the upper part of the outdoor unit and covered by a metal or plastic grille. In some models, the condenser fan motor is positioned underneath the fan blade, making it easy to locate. Note that every HVAC system is different, so it may require some investigation. If you're having trouble, refer to your system's manual or look for online resources.
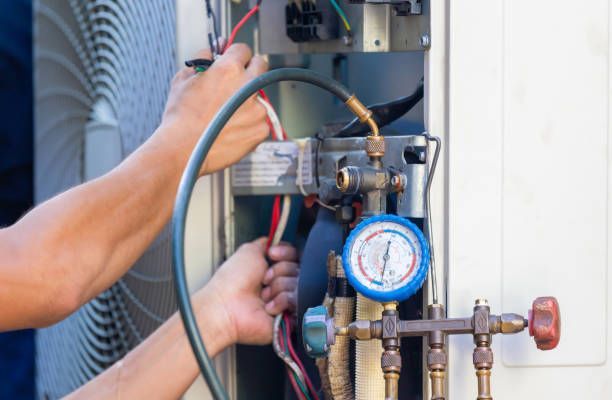
5. Disconnect the HVAC Condenser Fan Motor
With the fan motor located, it's time to disconnect it. The fan motor will be connected to the system through wires. Carefully disconnect these wires, making sure to remember or note down which wires connect to where. Use your multimeter to ensure there is no residual voltage in the wires. This step is critical to prevent any possible electric shock. Also, remember to unscrew any bolts holding the motor in place.
6. Remove the Fan Blade
Removing the fan blade is a delicate process. Before removing the blade, unscrew or unbolt any securing attachments connecting it to the motor. Be careful not to apply too much force or pressure as the blades could be fragile and can bend or break. If the blade is stuck, consider using a puller. Remember, not damaging the fan blades is crucial, as they're specifically balanced for your unit.
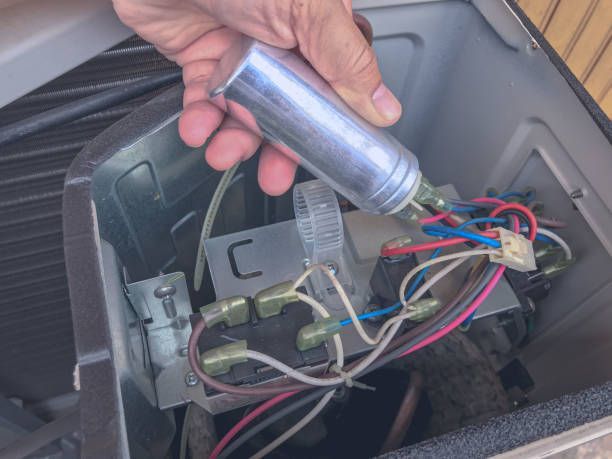
7. Install the New Motor
Now that the old motor and blade are removed, it's time to install the new one. Place the new motor in the same position as the old one and secure it with screws or bolts. Ensure it's firm and secure but avoid over-tightening as it may cause damage. Connect the wires back using your notes or photos as a guide. Make sure the connections are firm and accurate, as incorrect wiring can lead to system failure.
8. Reinstall the Fan Blade
The final step is to reinstall the fan blade onto the new motor. Slide the blade onto the motor shaft and secure it using the necessary attachments. Make sure the blade spins freely and doesn't wobble. If it's off-balance, it can cause issues like noise, reduced efficiency, and even damage to the motor over time. Once the blade is securely fitted and you're confident everything is in order, restore power to your unit and test the new motor. You should see the fan kick into action and your HVAC system return to normal operation.
9. Test The Motor
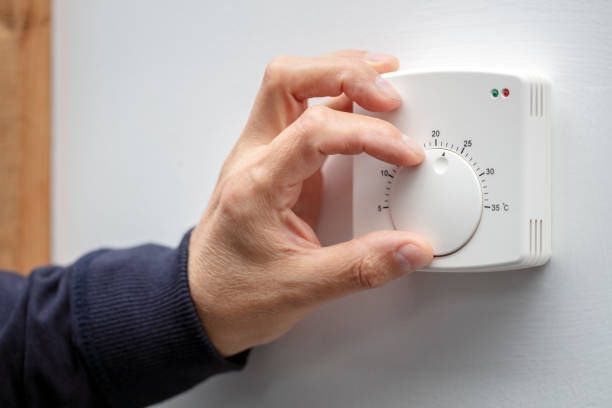
Once you have installed the new motor and replaced the fan blade, it is time to test the motor. Turn the power back on and observe the system closely. It is normal to hear a little noise as the motor starts up, but it should quickly subside to the typical hum of a functioning HVAC system. Observe the fan's rotation and make sure it's spinning freely and in the right direction. Check the airflow coming out from the system; it should be strong and consistent. If you encounter loud noises, inconsistent spinning, or lack of airflow, these could be signs of an issue and you should power down and check your work.
10. Double-Check Connections
If you face any issues during the test phase, it's essential to double-check all your connections. Sometimes, an issue as minor as a loose wire or screw can cause the entire system to malfunction. Look at your notes or photos from before and compare them with the current configuration. Ensure every wire is correctly connected and each bolt and screw is securely fastened.
11. Clean and Inspect
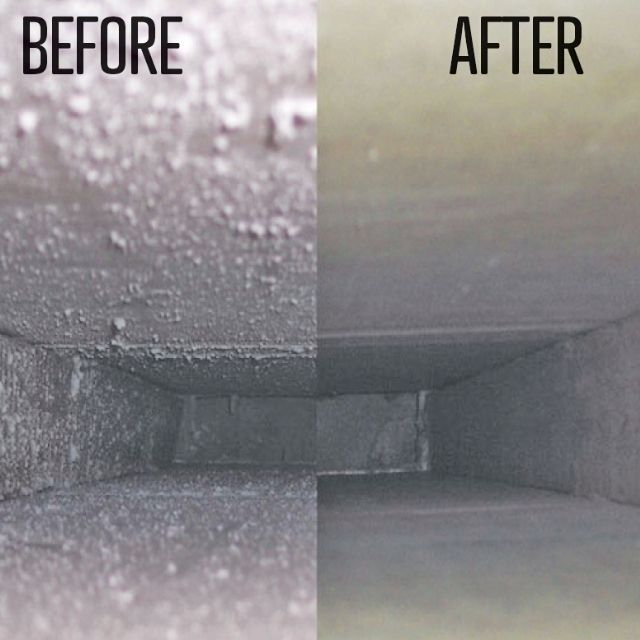
Lastly, before closing up your HVAC unit, take the opportunity to give it a good clean and inspection. Clean the interior of any dust or debris that may have accumulated and check other parts for signs of wear or damage. The condenser coils, for instance, are a critical part of your HVAC system and should be clean and free from damage. This regular maintenance check will not only keep your system running efficiently but can also help identify any potential problems early.
Need an HVAC Fan Motor Replacement?
While replacing the fan motor in your HVAC condenser isn't an overly complicated task for those with some DIY skills, it can be a daunting and risky endeavor for those without experience. There are also many types of HVAC systems, and not all are as straightforward. If you're unsure, don't hesitate to call in the professionals. At Best Owner Direct HVAC & Electrical, we serve Washington County and surrounding areas, providing expert HVAC services to ensure your system is always at its best.
Don't let an underperforming HVAC system ruin your comfort. Contact Best Owner Direct today for professional, reliable, and efficient service. Your comfort is our business, and we're here to ensure your HVAC system works for you!
Get a Free Quote Today!
Fill out the form below and we'll get back to you as soon as we can!
Contact Us
Contact Us
Best Owner Direct is your local, independent, family-owned and operated, residential and commercial HVAC service, repair and installation team. We're a trade ally of the Energy Trust of Oregon and our certified professionals offer services for all major brands. With over 20 years of experience, our team can handle all of your HVAC needs.
Free estimates available for installations. Contact us today to learn more or to schedule an appointment!
Read More Tips from the Experts Below: